
Graphing on a calculator may seem daunting, but it’s a powerful tool once you master it. To graph on a calculator, start by entering your equation using the proper syntax. Then, adjust the viewing window to get a clear graph. With practice, graphing on a calculator becomes second nature. Let’s dive into the world of mathematics at your fingertips with ‘how to graph on a calculator’.

Exploring the World of Graphing on a Calculator
Welcome to the exciting world of graphing on a calculator! Graphing calculators are powerful tools that can help you visualize mathematical concepts and solve complex equations with ease. In this comprehensive guide, we will take you through everything you need to know about how to graph on a calculator. So, grab your calculator and let’s dive in!
The Basics: Getting Started with Graphing Calculators
Before we delve into the nitty-gritty of graphing functions on your calculator, let’s first understand the basic functions and buttons you’ll be using. Most graphing calculators come equipped with a variety of buttons such as ‘graph’, ‘clear’, ‘zoom’, ‘trace’, and more. Familiarize yourself with these buttons to navigate your calculator efficiently.
Setting Up Your Graphing Window
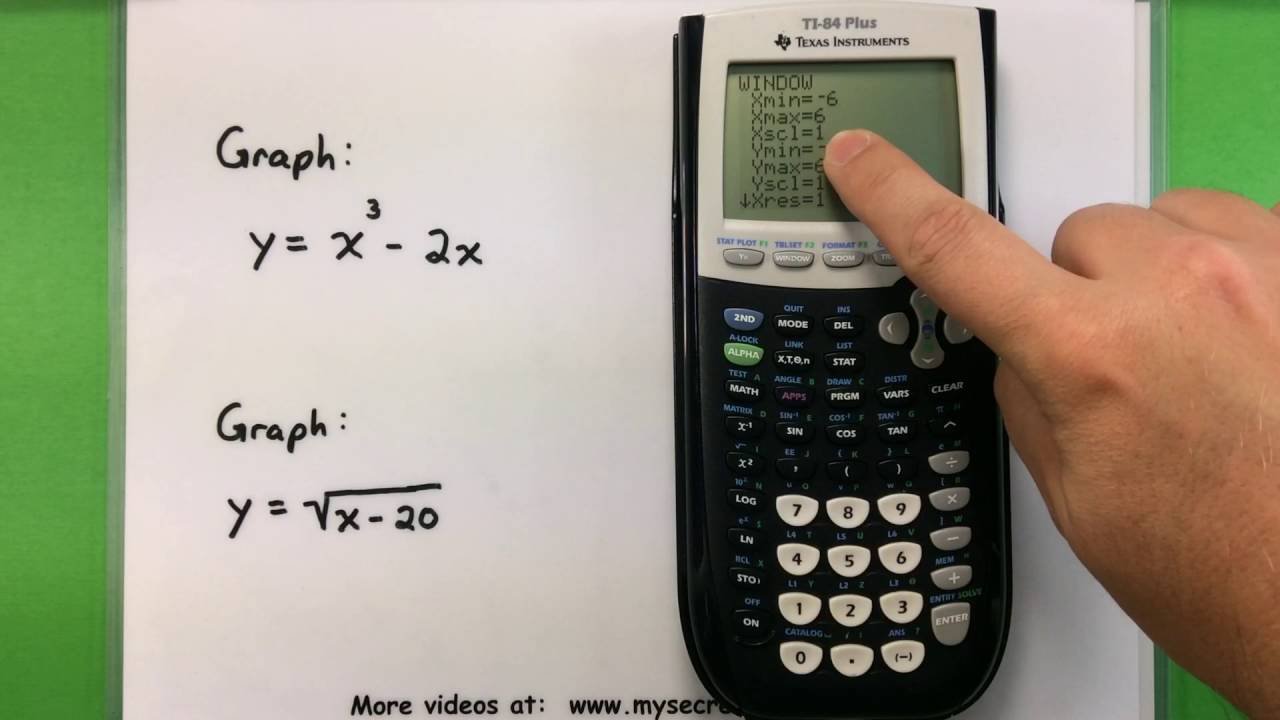
Once you’re comfortable with the basic functions of your calculator, it’s time to set up your graphing window. This window determines the range of values for the x and y-axes that will be displayed on your graph. Adjust the window settings to ensure that your graph is clear and easy to read.
Graphing Functions
Now comes the fun part – graphing functions! To graph a function on your calculator, you’ll need to input the equation into the calculator’s function editor. Whether you’re graphing linear equations, quadratic functions, or more complex functions, your calculator can handle it all.
Inputting Equations
To input an equation, navigate to the function editor on your calculator and type in the equation using the appropriate syntax. Make sure to use parentheses, brackets, and the correct operators to accurately represent the function. Once you’ve entered the equation, press ‘graph’ to see the function plotted on the screen.
Exploring Graph Features
After graphing a function, take some time to explore the different features available on your calculator. You can trace the graph, find intersections, calculate derivatives, and more. Experiment with these features to deepen your understanding of the function you’re graphing.
Advanced Graphing Techniques
Once you’ve mastered the basics of graphing functions on your calculator, you can explore more advanced graphing techniques. Graphing parametric equations, polar functions, and inequalities are just a few examples of the capabilities of your graphing calculator.
Parametric Equations and Polar Functions
Parametric equations and polar functions introduce a whole new dimension to graphing. Learn how to input these types of equations into your calculator and visualize the intricate graphs they produce. Parametric equations involve pairs of equations that define the x and y coordinates separately, while polar functions are defined in terms of angles and distance from the origin.
Graphing Inequalities
Graphing inequalities allows you to shade regions on the graph that satisfy specific conditions. Whether you’re graphing linear inequalities or more complex inequalities, your calculator can help you visualize the solution set accurately. Experiment with different inequalities to see how the shaded regions change based on the inequality.
Optimizing Your Graphs
To ensure that your graphs are clear and accurate, it’s important to optimize your settings and utilize the features of your calculator effectively. Adjusting the window settings, changing the color of the graph, and adding labels to your axes are just a few ways to enhance your graphing experience.
Customizing Graph Settings
Explore the various settings on your calculator to customize the appearance of your graphs. You can adjust the axes, gridlines, labels, and colors to make your graphs visually appealing and easy to interpret. Experiment with different settings to find the perfect graphing style for your preferences.
Adding Labels and Annotations
Adding labels and annotations to your graphs can help you communicate your findings clearly. Label the x and y-axes, add a title to your graph, and mark important points or intersections for better understanding. Annotations can provide additional context to your graphs and make them more informative.
Practice Makes Perfect
Like any skill, mastering graphing on a calculator takes practice. The more you experiment with different functions, equations, and graphing techniques, the more proficient you’ll become. Don’t be afraid to make mistakes – they’re all part of the learning process!
Challenge Yourself
To hone your graphing skills, challenge yourself with complex equations and functions. Try graphing trigonometric functions, exponential functions, or even piecewise functions to expand your graphing repertoire. The more you practice, the more confident you’ll become in graphing on your calculator.
Graphing on a calculator opens up a world of possibilities for visualizing mathematical concepts and solving equations efficiently. By mastering the art of graphing functions on your calculator, you can enhance your understanding of mathematics and tackle challenging problems with ease. So, grab your calculator, start graphing, and embark on a mathematical adventure like never before!
Basic Math – Graphing with a Ti-83 or Ti-84 Calculator
Frequently Asked Questions
What is the first step to graphing on a calculator?
To begin graphing on a calculator, ensure you have the function you want to graph in the correct format. Input the equation into the calculator using the appropriate syntax. This usually involves using the “Y=” button on the calculator to enter the function.
How do you adjust the window settings for a graph on a calculator?
To adjust the window settings for your graph, navigate to the window settings on your calculator. Here, you can customize the x and y-axis ranges, as well as the scale. Adjusting these settings can help ensure the graph is displayed accurately and appropriately on the screen.
What does it mean to trace a graph on a calculator?
Tracing a graph on a calculator allows you to move a cursor along the plotted function to read specific coordinate points. By tracing the graph, you can determine the x and y values at certain points of interest on the graph, providing more detailed information about the function.
Final Thoughts
Graphing on a calculator is a valuable skill for visualizing mathematical functions efficiently. Mastering this tool can enhance problem-solving abilities in various fields. Remember to input the equation correctly and adjust the window settings for a clear graph. Practice and explore the features of your calculator to maximize its potential for accurate and insightful graphing. Keep experimenting with different functions and graph types to deepen your understanding of how to graph on a calculator effectively.